Whether you’re new to the world of additive manufacturing or a seasoned professional, knowing how to design 3D print models is a critical skill for success. Producing high-quality, functional designs requires a mastery of digital 3D modeling techniques and an in-depth understanding of 3D printing processes. In this guide, we’ll explore the essential tools and best practices for creating models that beautifully capture your design vision, while also meeting the unique demands of 3D printing technology.
Join us on this journey as we delve into everything from choosing the right CAD software to optimizing designs for printability. By the end of our comprehensive discussion, you’ll be equipped with the vital 3D printing skills needed to turn your creative concepts into tangible, functional, and visually stunning prints.
Understanding the Basics of 3D Modeling for Printing
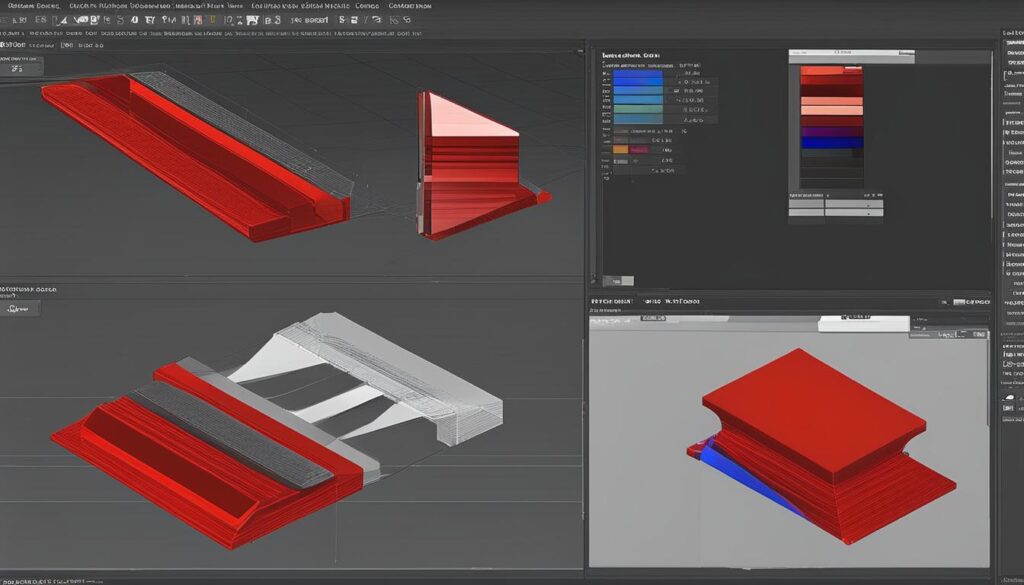
3D modeling for printing involves employing CAD software to create intricate designs consisting of various geometrical shapes, pivotal in numerous fields such as aerospace, healthcare, and consumer products. Models are either directly manipulated through the geometry or developed using parametric modeling based on mathematical and history-based constraints. Achieving a model’s printability requires manifold geometries, which represent “real” 3D shapes.
It is crucial for designers to account for the printing process’s restrictions when creating their 3D models, considering aspects like overhangs and fine feature thickness, adhering to principles of Design for Additive Manufacturing (DfAM). Successful printing of concepts relies heavily on balancing intricate design details and the physical limitations of 3D printing technology. In this section, we will discuss creating 3D models for printing and the role of CAD software in the process.
- Direct Modeling: This method involves manipulating the 3D geometry of the model directly. Designers can move, scale, or rotate individual parts of the model without any constraints. It is a more hands-on and intuitive approach, ideal for early design stages and quick explorations of ideas.
- Parametric Modeling: Parametric modeling relies on parameters and constraints to define and generate the model. It is history-based, and modifications to the model are easily tracked and adjusted. This method is more structured, suitable for designing complex, detailed models with a high degree of accuracy.
The choice between direct and parametric modeling depends on the desired level of control and the preferred modeling approach. The table below highlights the differences between these two 3D print modeling techniques:
| Modeling Technique | Description | Pros | Cons |
|---|---|---|---|
| Direct Modeling | Direct manipulation of 3D geometry without constraints | Intuitive and hands-on, ideal for exploratory design | Limited control over complex models |
| Parametric Modeling | Model generation based on parameters and constraints | Structured and precise, suitable for detailed models | May be more time-consuming and less intuitive |
Utilizing suitable CAD software and understanding the basics of 3D modeling are essential to creating functional and visually appealing models that can be successfully 3D-printed while maintaining the desired level of detail and the limitations of the printing technology.
Choosing the Right Software for 3D Design
Selecting the appropriate 3D design software starts with determining the specific needs and requirements of your projects, combined with your proficiency level. A multitude of choices exist on the market, including free tools for beginners and hobbyists such as Blender, TinkerCAD, and FreeCAD, as well as paid applications like Fusion 360 and Onshape for more advanced users.
The Pros and Cons of Popular 3D Modeling Programs
Each 3D modeling software option has its unique strengths and weaknesses depending on individual needs and skill levels. Blender excels at handling organic shapes, though it may be less intuitive and user-friendly than alternative options. TinkerCAD offers a lightweight, user-friendly experience, but may not provide sufficient advanced features for experienced users. SketchUp Free provides essential tools and a vast model library, while paid software like Fusion 360 and Onshape cater to advanced mechanical engineering projects.
| Software | Pros | Cons |
|---|---|---|
| Blender | Handles organic shapes well | Less intuitive than other programs |
| TinkerCAD | Simple interface, great for beginners | Lacking advanced features |
| SketchUp Free | Basic tools, extensive model library | Not geared towards advanced users |
| Fusion 360 | Ideal for mechanical engineering part design | May be overwhelming for novices |
| Onshape | Extensive tools for advanced designs | Costly, not suitable for beginners |
Why Free CAD Tools Might Be All You Need
For many individuals, free CAD software provides more than enough functionality to design models for 3D printing. Blender is an exceptional option for artistic projects featuring organic shapes, while TinkerCAD accommodates quick and intuitive model creation. SketchUp Free offers vital modeling tools and an extensive library, and FreeCAD boasts advanced geometry features and a parametric environment. Fusion 360 and Onshape provide cost-effective options for non-professionals and hobbyists with their free licenses and browser-based accessibility. Free tools can act as the foundation for both novice and expert users, empowering them to create and print 3D models as they master the nuances of 3D design.
- Blender: suitable for artistic projects
- TinkerCAD: quick, user-friendly model creation
- SketchUp Free: essential tools and model library
- FreeCAD: advanced geometry engine and parametric environment
- Fusion 360: free license for non-professional use
- Onshape: browser-based accessibility
The Role of CAD in Transforming Concepts into Printable Models
CAD software plays a crucial role in the process of designing printable 3d models, enabling designers to develop detailed and precise digital representations that can be transformed into physical objects. As an indispensable tool, CAD helps bridge the gap between ideas and tangible prints. This section will explore the two main modeling methods of CAD, Direct and Parametric, and help you choose the method most suitable for your 3D printing project.
Direct vs. Parametric Modeling: Which Approach Suits Your Project?
Direct modeling is a hands-on approach where geometries are manipulated directly during the design process. This method is generally used during early design stages due to its simplicity and speed. It allows for quick iterations, making modifications easy and intuitive. Designers often employ direct modeling when they need to swiftly create or alter 3D shapes without delving into complex features or constraints.
On the other hand, parametric modeling employs a more structured approach, utilizing predefined features and constraints to design parts step-by-step. This method allows designers to control every aspect of their model by defining parameters and relationships between geometric elements. Because of its more in-depth, precise nature, parametric modeling takes more time to set up initially but can save time in the long run by streamlining design revisions and updates.
| Modeling Method | Pros | Cons |
|---|---|---|
| Direct | Simple, speedy, and easy to learn, great for early design stages | Less precise, not ideal for complex designs with multiple constraints |
| Parametric | Highly precise and customizable, easily updated and revised | Requires more time initially, may have a steeper learning curve |
The choice between direct and parametric modeling ultimately depends on your project’s requirements, your design preferences, and the anticipated complexity of the final 3D print model. When seeking a balance of simplicity and speed with precision and control, you may opt to use a combination of both approaches, selecting the most suitable method for each stage of the design process.
Optimizing Designs for 3D Printing
Optimizing designs for 3D printing entails adjusting model geometries to mitigate potential printing issues and improve the object’s structural integrity. To ensure printability, designers need to take into account various factors such as overhangs, bridges, corners, and round surfaces. By adhering to specific strategies, models can meet both aesthetic and functional requirements while being conducive to 3D printing.
Consider the following 3D modeling tips to ensure the successful creation of 3D printable models:
- Overhangs: Overhangs can self-support up to a 45-degree angle, but supports are recommended for angles beyond 45 degrees.
- Bridges: Keeping horizontal sections under 5 mm helps prevent sagging, while supports may be required for longer spans.
- Rounded corners: Rounded corners can help compensate for the roundness of printer nozzles, improving the printed object’s strength.
- Layer height: When dealing with round surfaces and potential stair-stepping effects, opting for a lower layer height when slicing can help maintain smoothness.
Here, we provide an overview of common design elements and tips to optimize those aspects for 3D printing:
| Design Element | Description | Optimization Tips |
|---|---|---|
| Overhangs | Parts of the model that extend outward without support from below | Limit the angle to 45 degrees or less; if necessary, add support structures |
| Bridges | Horizontal sections that span between two points | Keep the length under 5 mm or use support structures for longer spans |
| Rounded corners | Joining edges in a circular shape | Utilize rounded corners to account for printer nozzle roundness and increase strength |
| Layer height | Distance between each consecutive slice of the model | Use lower layer heights for curved surfaces to minimize stair-stepping effects |
Understanding these optimization techniques and applying them accurately can ensure that the designed models will not only be printable, but that they will also meet the aesthetic and functional demands of the project.
Best Practices for Creating Design-Ready 3D Models
Creating design-ready 3D models demands careful planning of print orientation and geometry, as these factors significantly impact the support requirement, surface finish, and mechanical strength of the printed object. By considering print orientation, model geometry, and addressing overhangs and bridges in the design phase, designers can ensure their projects are successful and achieve the desired quality.
Considering Print Orientation and Model Geometry
Orienting a model to minimize overhangs can reduce the dependence on support structures, resulting in a cleaner print with less post-processing required. Additionally, considering the impact of layer lines can inform decisions on model placement to achieve the desired surface quality. Ultimately, the geometric design must ensure the model is both manufacturable and functionally sound, with appropriate considerations for fit and assembly if the model is part of a larger system.
Overhangs, Supports, and Bridging in 3D Models
When designing 3D models, identifying areas with overhangs and bridges is crucial, as these features may necessitate support structures during printing. An overhang can usually sustain itself at an angle of up to 45 degrees, but steeper angles will require supports to prevent collapse. Similarly, bridges—that is, horizontal elements spanning between two points—can present challenges if they extend beyond a certain length without support.
- Design models with overhangs less than 45 degrees for self-support
- Minimize bridge lengths to avoid sagging or collapse during printing
- Adjust printer settings to provide adequate support for challenging geometries
- Optimize model orientation to minimize the need for support structures
Addressing these issues in the design phase ensures that the 3D models can be printed successfully and with the intended quality, aligning the digital design with the physical capabilities of the printer.
| Feature | Challenge | Design Considerations |
|---|---|---|
| Overhangs | Support needed at angles greater than 45 degrees | Design models with self-supporting angles |
| Supports | Additional structures may be needed | Minimize overhangs and adjust print settings for support |
| Bridging | Sagging or collapse during printing | Minimize bridge lengths and optimize printer settings |
By implementing these best practices in 3D design for printing, designers can create design-ready 3D models that fulfill aesthetic and functional requirements while remaining compatible with the constraints of additive manufacturing technology.
Troubleshooting Common 3D Modeling Challenges
Creating 3D printable models can sometimes present various challenges that may impact the print quality or the ability to print the model altogether. In this section, we will delve into some common issues related to non-manifold geometries, STL file resolution, and inappropriate export settings while offering guidance on troubleshooting these problems to ensure a successful 3D print.
- Non-manifold geometries: Models with non-manifold geometries can confuse the 3D printer as they do not represent a coherent 3D shape. To resolve this, designers should ensure their models have closed meshes without gaps or overlapping surfaces. Popular CAD software provides tools to repair such geometries or identify errors in the model.
- STL file resolution: When exporting a model to STL, striking a balance between digital accuracy and manageable file sizes is vital. Low-resolution files may result in faceted prints with poor surface quality, while high-resolution files can create large, unwieldy files that take longer to process and may introduce unnecessary detail beyond the printer’s capability. To address this issue, users should select a resolution appropriate for their intended print quality and the limits of their printer.
- Inappropriate export settings: Adjusting chordal and angular tolerances during the STL export process can help maintain the intended shape and detail of the final print. Designers should ensure that their export settings correspond to their printer’s capabilities, and the associated slicing and printing software requirements.
The table below showcases some CAD tools that offer geometry repair or validation functionality to help designers address common 3D modeling issues:
| CAD Software | Geometry Repair/Validation Features |
|---|---|
| Blender | Mesh analysis tools, manifold checking and repair tools |
| TinkerCAD | Automatic mesh repair upon importing an STL file |
| Fusion 360 | Mesh Repair tools, mesh inspection and troubleshooting utilities |
| FreeCAD | Measure tools, mesh validation, and repair tools |
| Onshape | Geometry validation checks, mesh repair add-ons |
By addressing these common 3D modeling challenges, designers can ensure their models are both visually appealing and compatible with their printer’s capabilities. This allows for a smoother printing process, a better final product, and ultimately a more satisfying experience in the world of 3D printable model creation.
Essential 3D Modeling Techniques for Enhanced Print Quality
To improve the overall quality of your 3D printed models, two critical aspects must be considered: crafting detailed textures and features, and enhancing the structural integrity through design. By skillfully navigating the constraints of 3D printing while incorporating these techniques, you can create stunning models that closely resemble the original digital concepts.
Crafting Detailed Textures and Features
To enhance print quality, it is essential to develop detailed textures and features that correspond with the print’s resolution. Given the limitations of layer heights and printer nozzle diameters, it is crucial for designers to strike a balance between the desired level of detail and the practical limitations of 3D printing technology. One approach to resolving this issue is by selectively adjusting layer heights, ensuring that finer details are accurately represented in the final print. Additionally, employing post-processing techniques such as sanding and smoothing can significantly improve the surface texture and feature definition of the finished product.
Improving Structural Integrity Through Design
Ensuring the structural integrity of a 3D model requires thoughtful design strategies. The addition of fillets to soften sharp corners, for instance, can enhance durability and functionality. Similarly, appropriate model orientation can reinforce stress-bearing features, improving the overall strength of the print. By incorporating these techniques into their workflow, designers can create 3D printed models capable of withstanding the intended load and usage conditions while remaining true to the original design concept.
- Analyze the print’s resolution to determine the level of detail achievable.
- Adjust layer heights selectively for accurately representing fine details.
- Employ post-processing techniques, such as sanding and smoothing, to improve surface texture and feature definition.
- Integrate strategic design considerations to improve structural integrity (e.g., fillets, model orientation).
In conclusion, enhancing your 3D print quality hinges on your ability to skillfully apply textures and features within the constraints of 3D printing while simultaneously improving structural integrity through design. By leveraging these essential 3D modeling techniques, you can create models that accurately represent their digital counterparts and function as intended in real-world applications.
Exporting Your 3D Model: STL Files and G-Code Explained
Exporting a 3D model for printing primarily involves converting it into an STL file, which is the most commonly used format in 3D printing. The STL file outlines the exterior shape of the model using a network of triangles- the standard format representing a 3D model’s surface for additive manufacturing. Upon exporting, the STL file undergoes transformation into G-Code, which is crucial as it is the machine-readable set of instructions for the 3D printer.
It is critical to address the resolution of the STL file and fine-tune exporting settings in the CAD software. Achieving this ensures that the final 3D print retains the desired accuracy and detail without exceeding the 3D printer’s physical resolution limit. To give you a better understanding, let’s explore the process of exporting an STL file:
- Ensure your 3D model is manifold and watertight, with closed meshes without any gaps
- Select the appropriate resolution settings in your CAD software, balancing digital accuracy with manageable file sizes
- Export the 3D model as an STL file from your CAD software
- Import the STL file into a slicing software to generate the G-Code, accounting for printer-specific settings and requirements
Maintaining the intended shape and detail of the final print is essential, and this can be achieved by adjusting the chordal and angular tolerances during the STL export process. Additionally, selecting the right slicing software for transforming your STL file into G-Code can have a significant impact on the final printed model.
Take a look at this table, which outlines some popular CAD software options and their respective file exporting capabilities:
| CAD Software | STL Export Features |
|---|---|
| TinkerCAD | Simple STL export option with pre-configured settings |
| Blender | STL export with customizable settings and advanced options |
| SketchUp | STL export through an extension, offering basic export settings |
| Fusion 360 | Detailed control over STL export options, including resolution and tolerance settings |
| Onshape | Comprehensive STL export settings with various resolution and mesh quality options |
In conclusion, mastering the process of exporting 3D models in the form of STL files and generating G-Code is integral for ensuring that your final 3D prints accurately represent the original design while adhering to the physical limitations and capabilities of the 3D printing technology.
Preparing Your Model for Printing: Slicing and Printer Settings
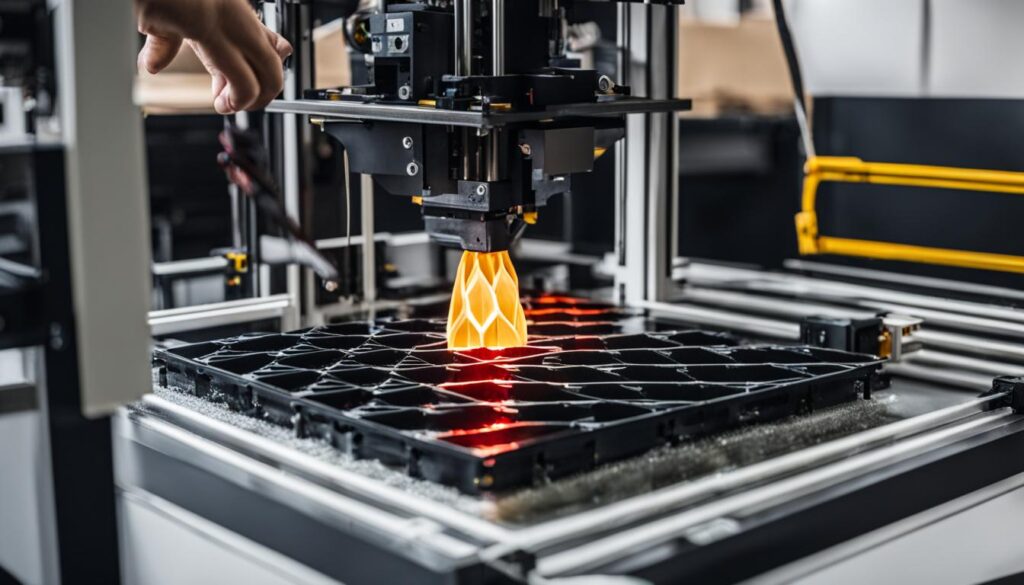
Successfully preparing models for 3D printing relies on the use of 3D slicing software to convert designs into a series of thin layers. These layers, represented by G-code, instruct the 3D printer on constructing the model layer by layer. The slicing software allows for adjustments to layer height, fill density, and support structure, optimizing the print to accommodate the specific geometry of the model. This vital step serves as a bridge between the digital model and the physical print, ensuring the printer accurately replicates the intended design with appropriate material deposition and structural support.
From Model to Machine: Understanding Slicing Software
Slicing software plays a pivotal role in the 3D printing process, translating digital models into machine-readable G-code. In addition to generating necessary print instructions, slicing software provides users with an array of adjustable parameters that affect the final print quality and characteristics. Some of these parameters include:
- Layer height: Determines the thickness of each individual printed layer. Choosing a lower layer height can yield smoother prints with finer detail, while higher layer heights yield faster prints with coarser surfaces.
- Fill density: The percentage of infill within the printed object. Higher fill densities provide greater strength and durability, while lower densities result in lighter, quicker prints.
- Support structure: Determines the need for extra material to support overhangs and bridges during printing. Supports can be added automatically or strategically placed to ensure a successful print while conserving material.
Understanding and effectively utilizing these settings significantly improves print outcomes, enabling designers to achieve high-quality prints that align with their design intentions and the limitations of their 3D printers.
| Slicing Software | Supported File Formats | Key Features |
|---|---|---|
| Cura | STL, OBJ, X3D, 3MF | Customizable profiles, print visualization, support for multiple 3D printers and materials |
| Simplify3D | STL, OBJ, 3MF | Advanced support generation, dual extrusion printing, customizable support structures |
| MatterControl | STL, AMF, GCODE | Integrated 3D design tools, real-time modification of print settings, remote monitoring |
| PrusaSlicer | STL, OBJ, 3MF | Customizable print settings, automatic support generation, optimized for Prusa 3D printers |
Conclusion
In conclusion, designing 3D print models is a multifaceted process that requires a thorough approach. This includes selecting the right CAD software, optimizing designs for printability, and understanding the intricacies of exporting and slicing models for 3D printing. By following best practices for 3D printing design, attending to details such as overhangs and bridging, and leveraging the capabilities of slicing software, designers can create models that meet aesthetic and functional requirements while aligning with the constraints of additive manufacturing.
As we delve deeper into 3D modeling for additive manufacturing, it’s essential to stay aware of the numerous fields that this technology benefits, such as aerospace, healthcare, and consumer products. Choosing the ideal modeling method – be it direct or parametric, and considering print orientation and model geometry are critical to creating design-ready 3D models.
Ultimately, tips for designing 3D prints are best put to use with practice and knowledge of the printing process. By continuously honing their skills, designers can maximize the potential of 3D printing technology, enabling the creation of innovative and complex designs that push the boundaries of additive manufacturing.
FAQ
What is the role of CAD software in creating 3D print models?
CAD software is essential for transforming design concepts into digital models, which can be used to generate G-code, the machine-readable instructions for 3D printers. CAD software accommodates both direct and parametric modeling, where models can be directly manipulated or based on mathematical and history-based constraints, enabling intricate design and optimization for 3D printing.
How do I choose the right 3D design software?
The choice of software depends on factors such as the project’s complexity, the user’s proficiency level, and budget. Some popular free tools include Blender, TinkerCAD, and FreeCAD. Paid applications like Fusion 360 and Onshape offer more advanced features. It’s essential to assess how various options cater to your project requirements and personal preferences.
What are some best practices for optimizing designs for 3D printing?
Considerations for printability include model geometries, overhangs, bridges, and feature thickness. When designing, it’s important to follow Design for Additive Manufacturing (DfAM) principles and balance intricate details with 3D printing technology’s physical limitations. This ensures that the model is not only functionally and aesthetically appealing but also compatible with the constraints of the printing process.
How can I ensure my 3D model is ready for printing?
To create a design-ready 3D model, you must account for print orientation, geometry, overhangs, and bridging. This involves minimizing dependence on support structures, choosing appropriate layer heights for slicing, and ensuring the geometric design is manufacturable and functionally sound. These factors are crucial in meeting both the aesthetic and functional requirements while remaining conducive to 3D printing.
What are common 3D modeling challenges and how can I troubleshoot them?
Common challenges include issues related to non-manifold geometries, STL file resolution, and inappropriate export settings. Troubleshooting involves ensuring models have closed meshes without gaps, selecting appropriate resolution settings, and adjusting chordal and angular tolerances during the STL export process. These adjustments help maintain the intended shape and detail of the final print without overburdening the 3D printer’s capabilities or the associated slicing and printing software.
How can I improve the quality of my 3D printed model?
Focus on the application of detailed textures and features while considering the limitations of layer heights and printer nozzle diameters. Adjusting layer heights or employing post-processing methods like sanding and smoothing can significantly improve the final 3D printed model’s surface texture and feature definition. Moreover, incorporating techniques to enhance structural integrity, such as adding fillets to soften sharp corners, contributes to the durability and functionality of the print.
What is the role of slicing software in preparing a model for 3D printing?
Slicing software converts the 3D design into a series of thin layers (G-code) that instructs the printer on how to construct the model layer by layer. It enables adjustments for layer height, fill density, and support structure, thereby optimizing the print for the specific geometry of the model. The slicing process is critical in bridging the gap between the digital model and the physical print, ensuring accurate replication with appropriate material deposition and structural support.

